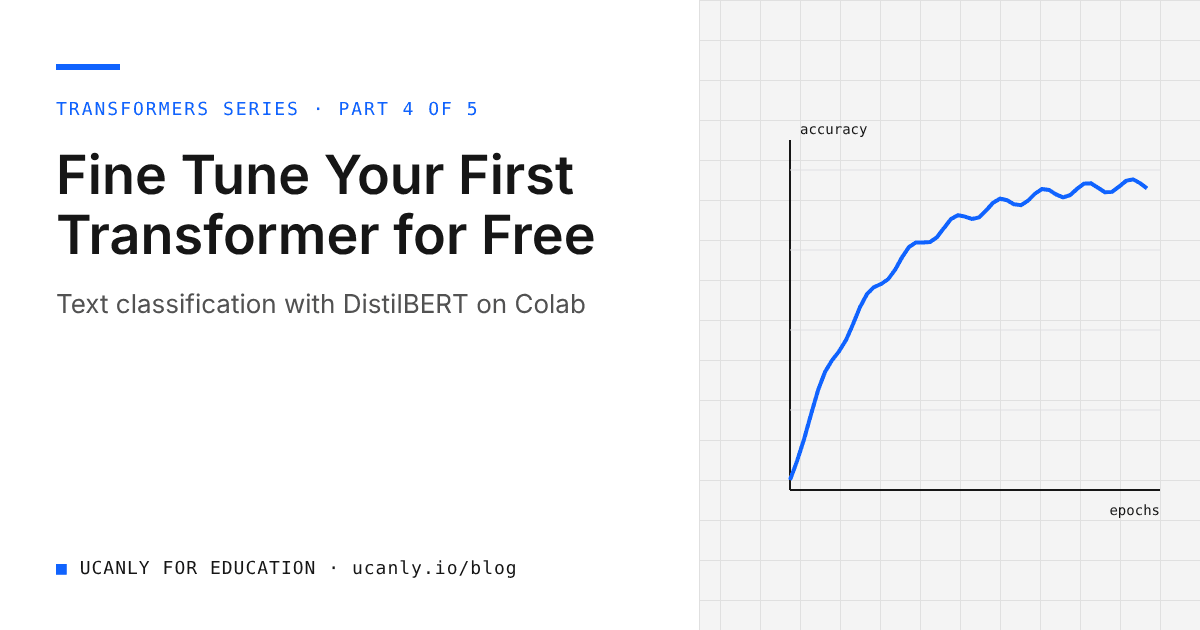
Most students meet transformers through a chatbot. You type a question into ChatGPT, Claude or Gemini and get an answer. That is useful, but it does not show a recruiter that you understand how these models are built, trained and shipped. Fine tuning a small transformer on your own task does. In this guide you will train a text classifier on a free Google Colab GPU, measure its accuracy, test it, and publish it on the Hugging Face Hub, all without spending a rupee.
The model we use is distilbert-base-uncased, a smaller and faster version of BERT. It is small enough to train in a short Colab session, and strong enough to give results you can proudly put on your resume.
What You Will Build and Why It Matters
You will build a sentiment classifier for movie reviews, measure its accuracy on held out data, publish it on the Hugging Face Hub, and learn how to scale up with LoRA.
Why does this matter for placements and internships? Interviewers for ML and data roles often ask, "Have you trained a model end to end?" Calling an API is not the same thing. Being able to explain tokenization, training arguments, evaluation and deployment shows real depth. The same workflow fits college projects like spam detection or news tagging.
Key takeaway: a small fine tuned model that you can explain fully is worth more in an interview than a large model you only called through an API.
Set Up Colab and Load Your Data
Step 1: Prepare the Free Colab Environment
Open Google Colab, create a new notebook, then go to Runtime, Change runtime type and select a GPU. The free tier usually offers a GPU, but availability and session limits change over time, so check the current limits on the Colab page. Idle sessions disconnect, so save often.
Install the libraries in the first cell:
!pip install -q transformers datasets evaluate accelerate peft
Then confirm the GPU is visible:
import torch
print(torch.cuda.is_available())  # should print True on a GPU runtime
If this prints False, recheck the runtime type. CPU training works but is very slow.
Step 2: Load a Small Dataset
The datasets library gives you thousands of public datasets with a single line. We will use imdb, which contains movie reviews labelled as negative (0) or positive (1). ag_news, with four news categories, is another good choice.
The full IMDB training set is large for a free session, so we take a small random subset:
from datasets import load_dataset

raw = load_dataset("imdb")

train_ds = raw["train"].shuffle(seed=42).select(range(3000))
eval_ds = raw["test"].shuffle(seed=42).select(range(1000))

print(train_ds[0]["text"][:300])
print(train_ds[0]["label"])
Always shuffle before selecting. The IMDB splits are ordered by label, so taking the first 3,000 rows without shuffling would give you only negative reviews and a useless model. Fixing seed=42 makes results reproducible.
Tokenize the Data and Load the Model
Step 3: Tokenize With AutoTokenizer
Transformers do not read words. They read token ids. The tokenizer splits text into subword pieces and maps each piece to a number from the model's vocabulary. You must use the same tokenizer the model was pretrained with, and AutoTokenizer picks the correct one for you.
from transformers import AutoTokenizer, DataCollatorWithPadding

model_name = "distilbert-base-uncased"
tokenizer = AutoTokenizer.from_pretrained(model_name)

def tokenize(batch):
    return tokenizer(batch["text"], truncation=True, max_length=256)

train_tok = train_ds.map(tokenize, batched=True)
eval_tok = eval_ds.map(tokenize, batched=True)

data_collator = DataCollatorWithPadding(tokenizer=tokenizer)
A few points worth understanding:
truncation=Truewithmax_length=256cuts long reviews to 256 tokens. This keeps memory use low on a free GPU. You can raise it to 512 if you have time and memory.batched=Trueprocesses many rows at once, which is much faster.DataCollatorWithPaddingpads each batch only to the length of its longest example. This dynamic padding saves compute.
Step 4: Load the Model and Define the Metric
AutoModelForSequenceClassification loads the pretrained DistilBERT body and adds a fresh classification head on top. Only the head starts from random weights; the rest already understands English.
from transformers import AutoModelForSequenceClassification

id2label = {0: "NEGATIVE", 1: "POSITIVE"}
label2id = {"NEGATIVE": 0, "POSITIVE": 1}

model = AutoModelForSequenceClassification.from_pretrained(
    model_name,
    num_labels=2,
    id2label=id2label,
    label2id=label2id,
)
You will see a warning that some weights were newly initialized. That is expected: it refers to the new classification head, which is exactly what we are about to train.
Next, define how to measure performance using the evaluate library:
import numpy as np
import evaluate

accuracy = evaluate.load("accuracy")

def compute_metrics(eval_pred):
    logits, labels = eval_pred
    predictions = np.argmax(logits, axis=-1)
    return accuracy.compute(predictions=predictions, references=labels)
The model outputs raw scores called logits for each class. Taking the argmax gives the predicted label, which we compare against the true label. For ag_news, set num_labels=4 and update the label maps; the metric code stays the same.
Step 5: Train With TrainingArguments and Trainer
The Trainer class handles the training loop, evaluation, mixed precision and checkpointing so you do not have to write them by hand.
from transformers import TrainingArguments, Trainer

args = TrainingArguments(
    output_dir="distilbert-imdb-demo",
    eval_strategy="epoch",
    save_strategy="epoch",
    learning_rate=2e-5,
    per_device_train_batch_size=16,
    per_device_eval_batch_size=32,
    num_train_epochs=2,
    weight_decay=0.01,
    load_best_model_at_end=True,
    metric_for_best_model="accuracy",
    fp16=torch.cuda.is_available(),
    report_to="none",
)

trainer = Trainer(
    model=model,
    args=args,
    train_dataset=train_tok,
    eval_dataset=eval_tok,
    data_collator=data_collator,
    compute_metrics=compute_metrics,
)

trainer.train()
print(trainer.evaluate())
A Note on eval_strategy Versus evaluation_strategy
Recent versions of transformers use the argument name eval_strategy. Older versions called it evaluation_strategy. If you follow an old tutorial and get an error about an unexpected keyword argument, this rename is the likely cause. Check your installed version with transformers.__version__ and use the name that matches.
What the Main Arguments Do
learning_rate=2e-5: a small learning rate is standard for fine tuning, because you want to adjust the pretrained weights gently, not erase them.num_train_epochs=2: two passes over 3,000 examples is enough for a solid result on this task.save_strategymust matcheval_strategywhenload_best_model_at_end=True, so the best checkpoint can be restored.fp16: mixed precision training, which is faster and uses less memory on a GPU.report_to="none": turns off external logging integrations.
With these settings you should see a respectable accuracy after training. Your exact number will vary with the subset and seed, so report what you actually observe. If you get an out of memory error, reduce the batch size to 8 or max_length to 128.
Save the final model and tokenizer together:
trainer.save_model("distilbert-imdb-final")
tokenizer.save_pretrained("distilbert-imdb-final")
Test and Publish Your Model
Step 6: Test With a Pipeline
The pipeline function wraps tokenization, inference and post processing into a single call. Point it at your saved folder:
from transformers import pipeline

classifier = pipeline(
    "text-classification",
    model="distilbert-imdb-final",
    device=0 if torch.cuda.is_available() else -1,
)

reviews = [
    "The story was gripping and the acting was superb. Worth every minute.",
    "Two and a half hours of my life I will never get back.",
    "The songs were good, but the second half dragged badly.",
]
print(classifier(reviews))
Try tricky inputs such as sarcasm and mixed opinions, and note where the model fails. Documenting failure cases in your README shows maturity.
Step 7: Push to the Hugging Face Hub
Colab files vanish when the session ends. The Hub gives you a permanent, shareable model page.
First create a free account on Hugging Face, then generate an access token with write permission from your account settings. Log in from the notebook:
from huggingface_hub import notebook_login
notebook_login()
Paste the token into the prompt that appears. Never hard code your token in a notebook you plan to share publicly. Then push both the model and the tokenizer:
repo_id = "your-username/distilbert-imdb-demo"
trainer.model.push_to_hub(repo_id)
tokenizer.push_to_hub(repo_id)
Now anyone, including you on a laptop, can load it:
clf = pipeline("text-classification", model="your-username/distilbert-imdb-demo")
Open the model page and edit the model card. Describe the data, settings, accuracy and limitations. Link it from your GitHub README and your resume, and run the resume through our AI resume review to check that the project is described with impact.
Key takeaway: a public model page with an honest model card is concrete proof of skill that a recruiter can open in one click.
Next Step: LoRA With the peft Library for Bigger Models
DistilBERT is small, so updating all its weights fits on a free GPU. Larger models are a different story: full fine tuning needs far more memory than a free session provides. This is where LoRA (Low Rank Adaptation) helps. Instead of updating every weight, LoRA freezes the original model and trains small extra matrices inside the attention layers. You train only a tiny fraction of the parameters, which cuts memory use dramatically.
The peft library makes this a few lines of code. Here it is applied to the same DistilBERT model so you can compare:
from peft import LoraConfig, get_peft_model, TaskType

base_model = AutoModelForSequenceClassification.from_pretrained(
    model_name, num_labels=2, id2label=id2label, label2id=label2id
)

lora_config = LoraConfig(
    task_type=TaskType.SEQ_CLS,
    r=8,
    lora_alpha=16,
    lora_dropout=0.1,
    target_modules=["q_lin", "v_lin"],
    modules_to_save=["pre_classifier", "classifier"],
)

lora_model = get_peft_model(base_model, lora_config)
lora_model.print_trainable_parameters()
q_lin and v_lin are the names of the query and value projection layers in DistilBERT. Other models use different names, such as query and value in BERT, so inspect print(model) to find them. modules_to_save keeps the new classification layers fully trainable, since they start from random weights.
You can pass lora_model to the same Trainer setup from Step 5. LoRA usually tolerates a higher learning rate, so try something like 2e-4. Comparing accuracy, training time and saved adapter size against full fine tuning makes an excellent college project.
Turning This Into a Portfolio Project
To make this stand out in placements, go one step beyond the tutorial:
- Use a dataset that is relevant to India, such as Hindi or Hinglish reviews, customer complaints, or exam related questions, and explain why it matters.
- Compare approaches: a classic baseline such as TF IDF with logistic regression, full fine tuning, and LoRA. Present the results in a small table.
- Build a demo with Gradio and host it on a free Hugging Face Space so interviewers can try it in their browser.
If you want a structured path through Python, machine learning and deep learning before you attempt this, browse our courses. When the project is ready, start applying to ML and data internships on the jobs board.
Conclusion: What to Do Next
You now know the complete fine tuning workflow, the same building blocks used in real world NLP work.
Your next steps:
- Run this notebook end to end today on a free Colab GPU.
- Swap
imdbforag_newsor a dataset of your own and adjustnum_labels. - Push the model, write an honest model card, and add the link to your resume.
- Try the LoRA version and record how it compares.
Start small, finish, and publish. A finished, explained model beats ten unfinished notebooks.